Many years ago when I started photographing birds I soon learned firsthand just how hard capturing even a decently composed image of a flying bird really was.
The editing process after a pleasant morning behind a camera in the field was nothing short of infuriating, and that’s putting it mildly by the way, when all I saw on my laptop screen was blurry image after blurry image after, you guessed it, blurring image.
(Advertisement)
Fast forward to this very day, in fact, several decades later and I still come home with some flying bird images that are less than what I’d call perfect because, and let’s be upfront about it here, photographing birds in flight is, well, quite challenging to say the least and even the best of photographers have to use the delete button once in a while on a missed photo or two, that’s just how the process works.
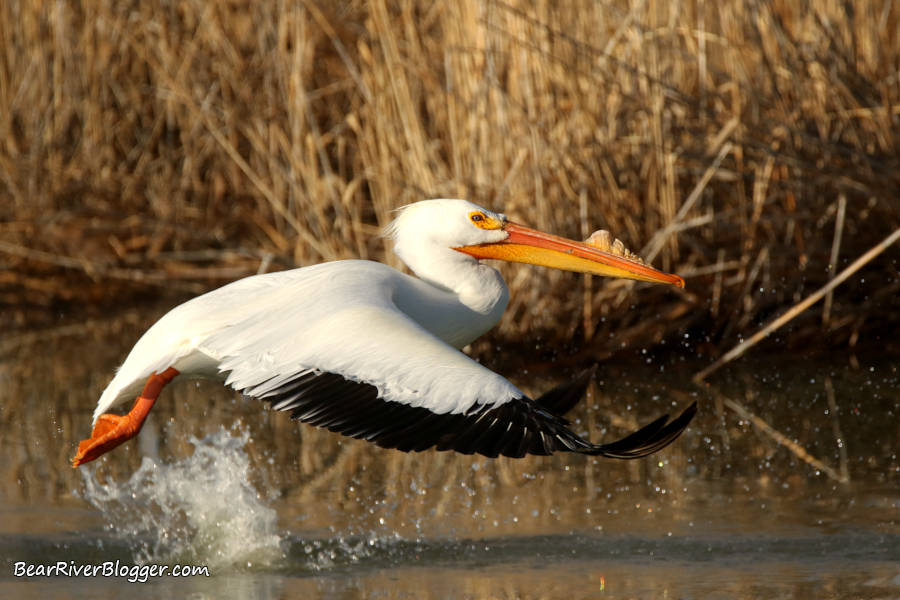
The practical experience I had already gained from photographing sunsets, waterfalls, and landscapes was doing me little to no good with regards to pelicans and other birds I could find on the Bear River Migratory Bird Refuge auto tour route, except, however, I had become well versed with my camera’s buttons, functions, and all of that boring technical kind of stuff.
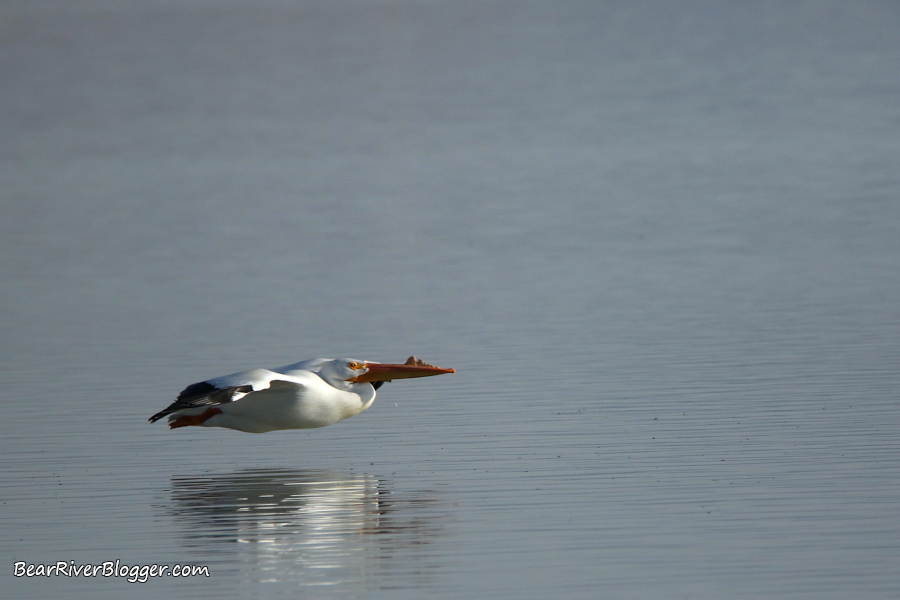
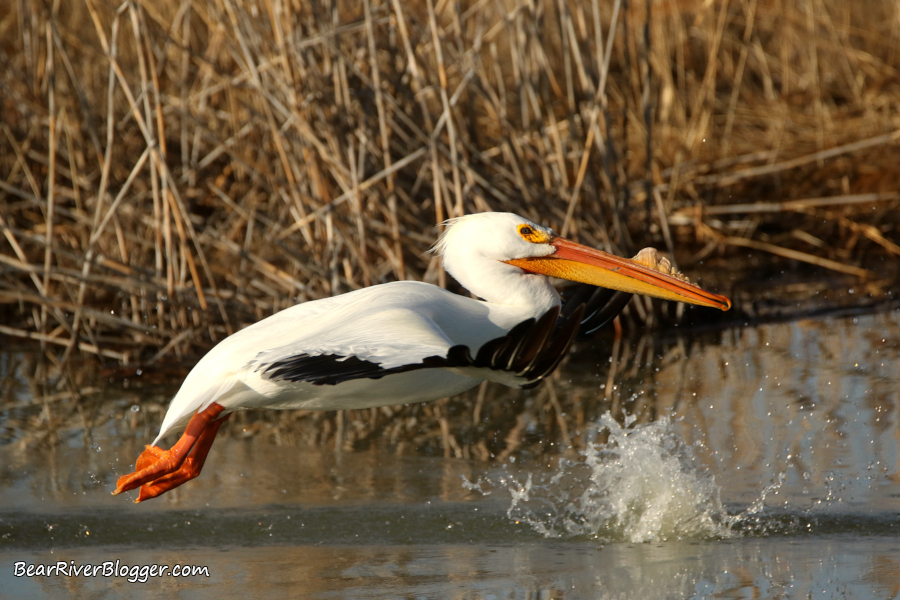
The overall problem I had back then was fairly simple, I just didn’t know which camera settings were best to use for photographing pelicans in flight, for example, since the ones I was accustomed to using with scenic landscapes weren’t working at all for this particular purpose.
Simply put, after a few weeks of sitting in my front yard photographing hummingbirds at the feeder each and every afternoon, I soon learned my biggest problem was my shutter speed had been set far too low to photograph a bird in flight with the hopes of stopping the wing motion and getting a crisp subject as a result.
Landscape and scenery photos aren’t too particular about shutter speed, especially if you have the aid of a tripod on an overcast day to help out when a slower shutter is needed, but moving birds aren’t as forgiving when it comes to necessary camera settings to freeze motion, especially on a cloudy day.
(Advertisement)

(As an Amazon Associate, I earn from qualifying purchases.)
So here are the basic camera settings used to photograph birds in flight with the overall premise being to use as fast of a shutter speed as possible by changing your camera settings with regards to whatever the current light conditions you are facing.
Shutter Speed
When photographing birds try and keep your shutter speed at 1/2500th of a second, preferably faster if you have the light for it.
The basic premise is that the faster the shutter speed, the better it will stop and freeze wing beats and other motions.
All of the camera settings discussed below should be utilized towards having as much light reach your camera’s sensor as possible and forcing your camera to run at a blazing fast shutter speed in return.
Aperture
I photograph with Canon cameras and their aperture mode is called AV (aperture value) which allows you to set the aperture, the amount of light the lens lets pass through (similar to the pupil in your eye), and the camera sets the shutter speed to compensate for any given amount of light sent to the sensor so you end up with a properly exposed image.
In a nutshell, the larger the aperture number (f22 as one example) the smaller the actual hole, and less light is allowed to pass through.
By allowing more light with a larger aperture, a smaller f-number (f7.1 for example) and a bigger lens opening to put it in layman’s terms, the camera’s shutter is forced to run at a faster level which is exactly what you want for photographing birds in flight.
You can do it reverse and use the Time Value Mode (TV) where you set the shutter speed and the camera compensates by setting the aperture as a result but I personally prefer to have control over the aperture and just force the shutter speed to run as fast as it can with how Iarge or small I purposely set the aperture.
Almost always when photographing birds in flight I use a wide-open aperture setting in the neighborhood of f7.1, sometimes it is larger and other times it’s smaller but that is where I typically have it set on most days.
ISO
Set your ISO to at least 400 and preferably a bit higher if your camera has settings such as 500 or even 640 ISO with the premise being the higher the number the more light your camera will capture (technically it doesn’t exactly work that way but for all intents and purposes just think of it in this manner and you’ll be fine).
Some photographers utilize the auto ISO setting but your camera will always try and use the lowest ISO possible when it’s not purposely set to a fixed number and it can even change at any moment with changing light conditions, meaning your camera might be running at a slower shutter speed than it could be if you set it at a fixed and moderate level thus forcing the camera to compensate with a higher shutter speed.
Personally, I try to not go over ISO 800 unless I have no other choice because the noise brought into the image with a higher ISO is a tradeoff I will rarely make if it isn’t directly needed with how much light I have at my disposal.
Burst Mode
Most, if not all, DSLR cameras have what is called a “burst mode” where the camera will take a string of images for as long as you hold down the shutter button, up to a point that is.
Some cameras can take as many as 10 or 12 images per second and other ones can only do 7 or 8 but no matter what camera you have when your camera is set to burst mode you will have the best opportunity to capture a bird in flight as opposed to taking one image at a time like what is done with landscape and portrait photography.
Constant Focus
When you are in burst mode, you also want your camera to constantly focus since the subject will constantly be moving.
For Canon cameras, the setting you use is AI Servo and this makes the camera continuously focus on the bird while the shutter is depressed.
In contrast, the One Shot setting is more for landscape and portrait photography where the camera focuses only once no matter if it’s in burst mode or not, meaning your moving subject will soon be out of focus and you will have to lift off and depress the shutter each time you need to refocus, not an easy task to do with a constantly moving subject so change your particular brand of camera’s setting to where it constantly focuses like the AI Servo setting in Canon cameras.
Conclusion
The basic premise for photographing birds in flight is pretty simple overall, use as fast of a shutter speed as possible by tweaking the ISO and aperture settings in your camera accordingly for whatever light you have to work with and set your camera to burst mode for as many as pictures as possible at a time.
Just remember you need as much light as possible to go through the camera to run at shutter speeds around 1/2500th of a second so open up the aperture and set your ISO around 640.
Subscribe
If you love birds and other creatures in nature like us, we offer you to sign up for email notifications for future blog posts where we share our love for birdwatching and nature coupled with our passion for photography.
(Singing Western Meadowlark. For short photography tips, nature clips, and interesting stories about the natural world around us, subscribe to our Bear River Blogger channel on YouTube for videos and updates from our travels while out in nature, both on and off of the famed Bear River Migratory Bird Refuge.)