One of the aspects of bird photography I like the most is helping other bird watchers learn how to take great photos of our feathered friends.
In fact, I like it so much, each spring, usually on the second Saturday in March, I offer a free Beginning Outdoor Photography workshop on the Bear River Migratory Bird Refuge.
(Birdwatching T-shirts)
(Shop Bear River Blogger's Online Store)
We were unable to offer the workshop for the past two years due to the covid 19 epidemic, but that hasn’t stopped my desire to help others with their bird photography efforts.
Photographing birds is a fun and challenging hobby, one I have done for many years and something I will surely do as long as I am physically able.
For those of you that visit the Bear River Migratory Bird Refuge, I have every intention of restarting the yearly photography class tradition once things get back to normal and the refuge visitors center is once again open to the public.
But for the time being, I am writing a few blog posts pertaining to outdoor photography, so feel free to subscribe to our blog for email notifications when a new blog post comes out.
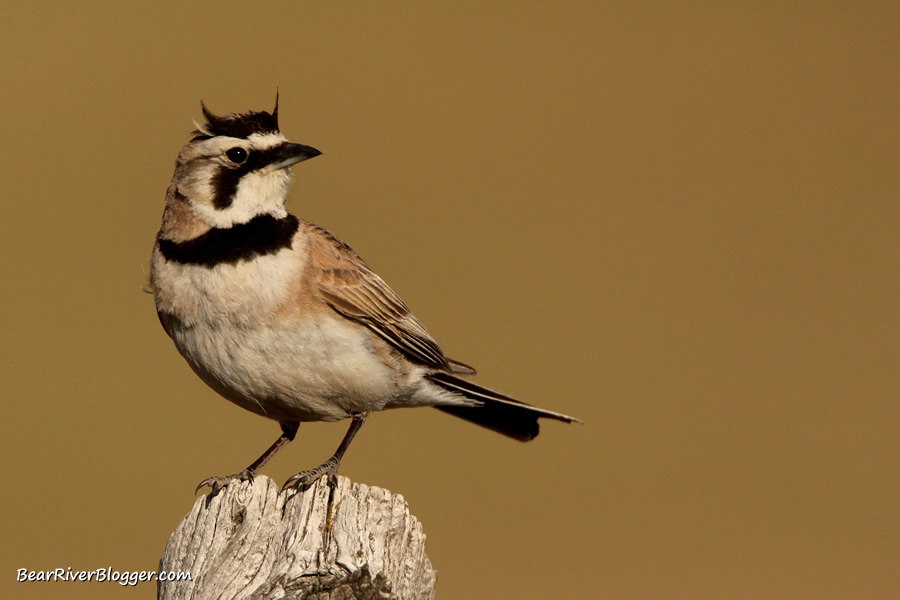
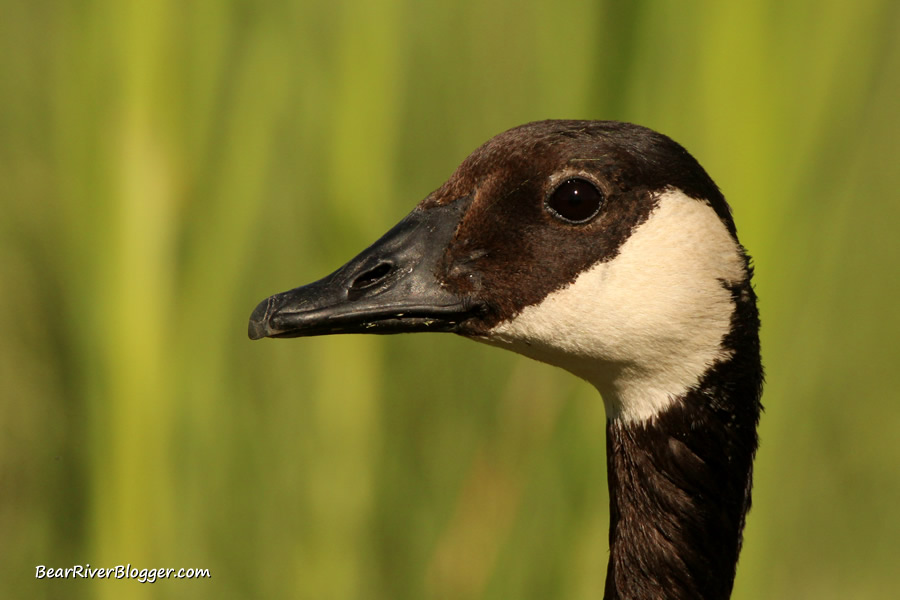
Bird photography is pretty simple when you learn a few of the basic concepts and spend a little time out in the field putting them into practice.
(Gosky Spotting Scope)
(As an Amazon Associate, I earn from qualifying purchases.)
The area I see the most confusion in when I talk with and teach beginning photographers is with the camera settings, particularly what settings are best for bird photography.
Well, I am here to cut through the noise and confusion and simply give you the 5 best and most important camera settings for taking great bird pictures.
These are the camera settings I use each and every day when I am out photographing birds so I know first-hand they work, and work quite well, I might add.
It doesn’t matter what brand or level of DSLR camera you use, these camera settings are universal and will indeed help you take better bird photos.
In fact, despite having several different cameras at my disposal, I still use my old Canon Rebel T4i much of the time just for fun and, maybe even more so, to show other photographers you can take great bird pictures regardless of what DSLR camera you have if you learn about and use the proper camera settings.
There are a few other things besides camera settings that come into play, but having the correct settings on your camera is the first and most important step in bird photography.
For a more in-depth look at taking great bird photographs, especially in flight, I recently wrote a more in-depth blog post on the matter, but I will condense it here and give you the 5 best camera settings for bird photography.
So without further adieu, here are the 5 best camera settings you should use for bird photography.
Aperture Mode
Aperture mode is the best camera mode, in my opinion, for bird photography. It gives you some flexibility in blurring the background while forcing the camera to run at a fast shutter speed at the same time.
This particular mode allows you to set what size aperture you want and the camera sets the corresponding shutter speed with regards to the available light.
(Shop Bear River Blogger's Online Store)
(T-shirts, Hoodies, Greeting Cards, Blankets)
The best aperture setting for bird photography between f7.1 and f9, a wide-open aperture that not only helps blur the background but allows a lot of light to force the camera to run at a faster shutter speed.
In low light conditions, you can even open it up even more if needed, but I have found on sunny days f7.1 to f9 is usually adequate for photographing birds.
Shutter Speed
By far, the most important camera setting for crisp, sharp bird photos is the shutter speed, and the best shutter speed you can use for bird photography is 1/2500th of a second, or even faster if you have adequate light to get the camera run that fast.
When there is enough light, I have even photographed birds at 1/4000th of a second, but that isn’t always possible on cloudy days unless you are willing to increase your ISO setting.
Now the trick here is, by using your camera’s aperture mode, the camera sets the shutter speed so this is why you need to have a large aperture to allow in as much light as possible.
Usually, on sunny days, this is not a problem and it works quite well with an aperture set at f8, the aperture setting I usually start with when I photograph birds.
On cloudy days, however, you may need to open the aperture as wide as it will go to allow as much light as possible or increase your ISO setting, or both, depending on how low the light is.
ISO Setting
Many beginning photographers I talk to have their ISO set at the variable setting, allowing the camera to change the ISO level depending upon the available light. This setting does not work well, however, when photographing birds.
The best ISO setting for bird photography is a fixed level between ISO 400 and 800, while keeping it as low as you can within that range to reduce any unwanted noise in your image.
My Canon Rebel T4i jumps from ISO 400 to 800, but I rarely leave the 400 ISO setting, unless it is a very cloudy day. With a wide aperture, 400 ISO is a good compromise of low noise and light gathering ability.
I sometimes photograph birds with my Canon 7D MkII which has ISO settings that jump from 400 to 500 to 650 to 800 ISO.
Don’t worry if you have a cheaper camera that doesn’t have these intermediate ISO settings, set your ISO at a fixed 400 and leave it there, only bumping it up to 800 when the light is low.
Rarely will I use anything over ISO 500 on my Canon 7D MkII, even though it has a much better sensor than most cheaper cameras.
I always try and photograph with the lowest ISO setting that gets the job done, regardless of what camera I am using.
The reason you want to set your ISO at a specific setting, such as ISO 400, instead of letting it float on the variable position is it forces the camera to run at a faster shutter speed because it can’t lower the ISO in bright light when it is fixed.
With a lot of light from a large aperture, it has to run at a fast shutter speed or the image will be over-exposed.
The camera knows this and will adjust the shutter speed accordingly, and it is why you can and should use a fixed ISO setting for all of your photography needs, not just bird pictures.
Continuous Shooting Or Burst Mode
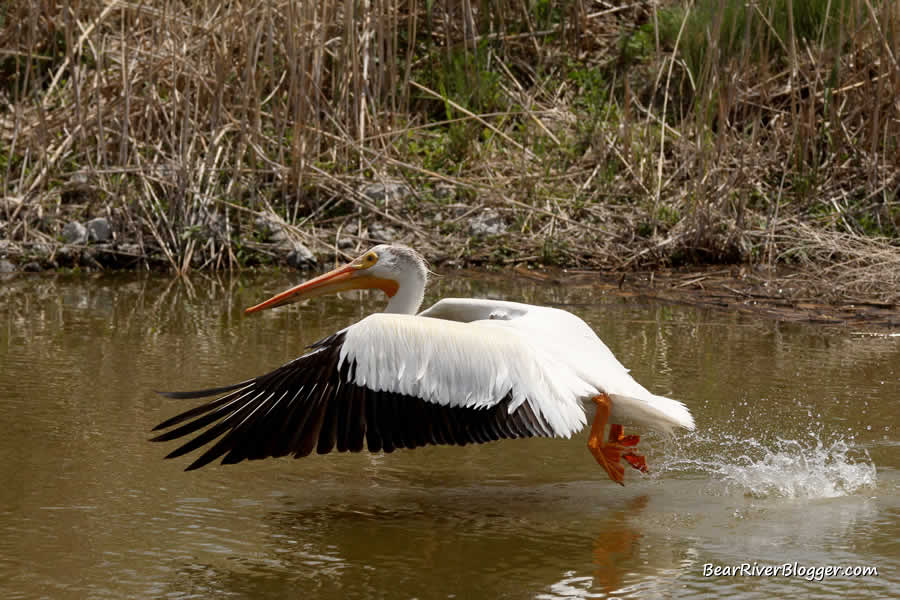
I sometimes call it burst mode, but the continuous shooting setting on your camera is most vital when photographing birds, especially birds in flight.
The continuous shooting mode allows the camera to take a series of images in rapid succession, a necessity when photographing animals in nature.
You can always take one picture at a time by quickly pressing and releasing the shutter button, but by always having your camera on continuous shooting mode for bird photography, you will never miss any fast-paced action, like a bird in flight, for example.
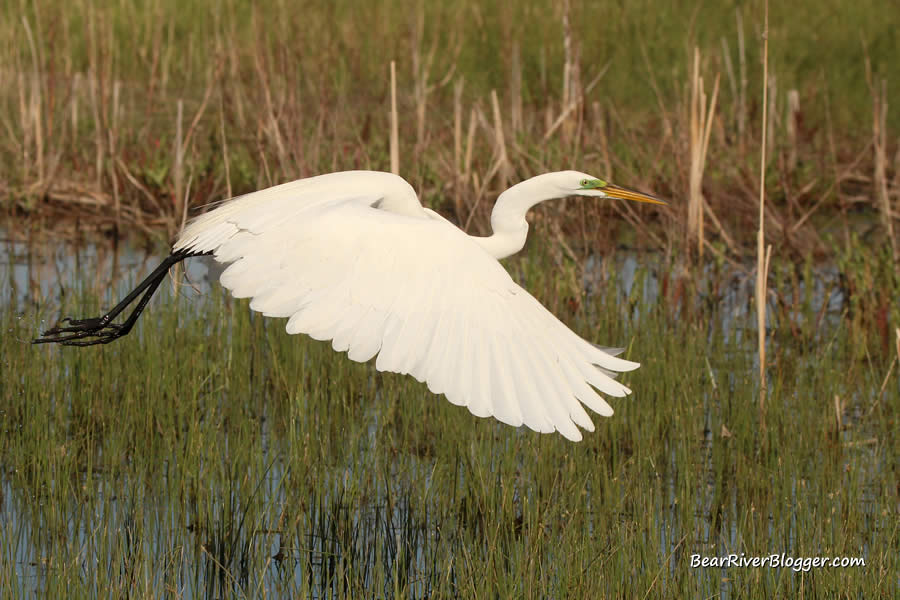
AI Servo Mode
I’m not certain if all camera brands call it the same thing, but Canon has a mode called AI Servo. It should most definitely be used in conjunction with the continuous shooting or burst mode.
Basically, AI Servo mode keeps the camera focusing on the subject when it is in motion. This is very critical when photographing birds, or anything that might move ever so slightly, for that matter.
If you are a landscape or portrait photographer, which I also do, by the way, this mode is utterly useless, however, unless you are trying for some fast-moving action in your shot.
Most still photographers use the One-Shot setting for this, allowing them to take focus and recompose the image before actually taking the shot.
But the One-Shot setting will only give you blurry images if the subject moves at all, even ever so slightly.
So my advice would be to set your camera to AI Servo, or whatever your brand of camera calls it where it is continuously focusing, and leave it there whenever you are photographing birds or anything in motion.
Further Reading
For those of you that want an in-depth source of all things photography, not necessarily just for birds but delving deep into overall photography concepts, I have read quite a few books on the subject, and a couple I am quite fond of, in fact.
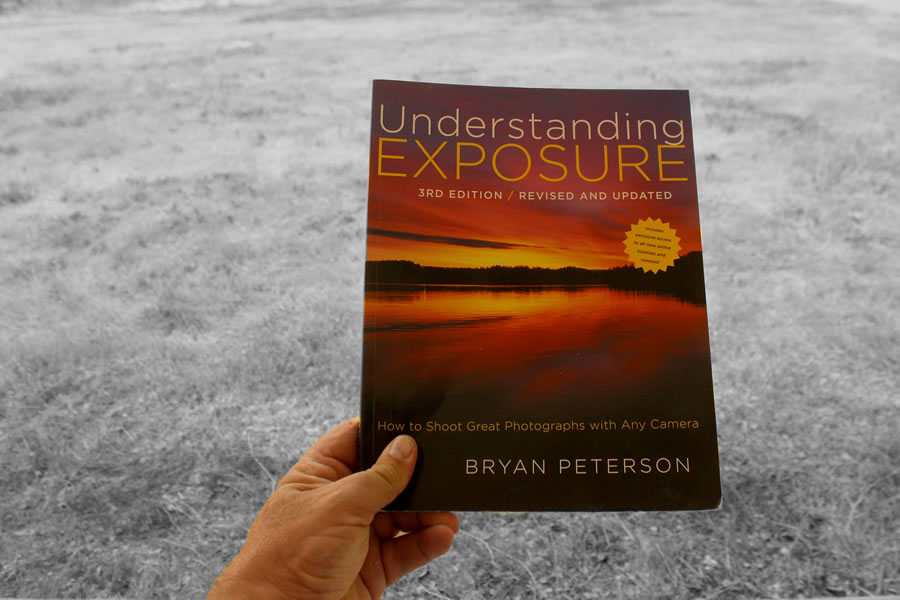
One such book I really like is Understanding Exposure by Bryan Peterson. For just a good overall book on photography, this is actually one of my favorites.
I have read it numerous times and have learned quite a bit from it that has actually helped me with bird photography.
One you learn the basics of photography, you can photograph just about anything, especially birds.
Conclusion
There you have it, the 5 best camera settings you should use for bird photography.
Now keep in mind, however, depending upon current lighting conditions, some of these settings, such as the aperture and ISO, can and might need to be changed somewhat.
But by starting out with these settings on your camera, you can start to take great bird photos almost instantly.
Just remember, photography is all about light and how much light reaches the camera sensor.
The more light you get on the sensor, the more things you can do with your camera. So for bird photography, keep your aperture wide, your shutter speed fast, and get out there and practice, practice, and practice some more.
Subscribe
Don’t forget to subscribe to our blog. We send out email notifications whenever a new blog post is published.
So if you are a nature lover, an outdoor photographer, or both, follow our website for more posts about nature, photography, and, of course, the Bear River Migratory Bird Refuge.
(Advertisement)